


Nani Ke Nuskhe - Home Remedies Your Nani Approves
| Authored by: Sanyog Jain |
| Reviewed by: Dr. Anita |
| Estimated Reading Time: |
There’s a reason, the phrase “Grandma knows best” has survived centuries. Our grandparents have lived a reality that we can only observe through others’ accounts. While we have better resources in this day and age, they have invaluable experiences that are immortal in the form of memories and wisdom. One great example of this ever-flowing waterfall of knowledge is how our grandmothers just always happen to have tips, tricks, and remedies for every imaginable issue ever!
Table of Content: |
From bitter-tasting decoctions for stomach aches (they may have tasted yuck but they sure did work) to weaving your woolen monkey-caps when winters came about, grandmoms have proven to be better superheroes than Shaktiman (Gangadhar has nothing on your Nani!). The ones I like the best, however, are my Nani’s home remedies for skin and hair. They’re more effective than any products I have tried and fun-fact, they’re the inspiration for many commercial skincare and haircare products being launched these days! Growing up, my Nani ji would sit me down while applying ghee to her hair and mine every other day and would talk about the significance of natural ingredients like Tulsi, Haldi, etc, and how she liked using them. Almost all of these champi sessions were accompanied by captivating stories that were the highlights of my post-school afternoons.
As modern medicine and commercially produced wellness products take over our routines, it is saddening to see how natural ingredients and their benefits are getting overshadowed and perhaps may even be lost in the sea of brands scrambling to increase their sales. Even if we find more scientific backing in the lab-produced convenient bottles, it is imperative to note that these traditional home remedies for healing and rejuvenation passed down to us as little chests of treasures are more than just old wives’ tales. Let’s take a look at some of my favorite home remedies: -
Home Remedies for Skin Concerns
- Ubtan for Exfoliation and Brightening
This skin hack is probably the most popular out of all the ones you’ll be reading about today and rightfully so. Ubtan is a beautiful concoction of yogurt (dahi), gram flour (besan), and turmeric powder (haldi) and does all good things for your skin. It is so famous that in most Indian weddings, there is a special ceremony wherein the bride and groom are sat and ubtan is rubbed on their faces and limbs. Old folktales suggest that the women in Indian households’ way back in history came up with this recipe to enhance their natural beauty.

How to Make This: Add 4 tablespoons of besan, 2 tablespoons of dahi, and ½ teaspoon of turmeric powder in a small bowl and mix them till they are properly combined. Apply this mixture where desired, rub it in, and leave for 10 minutes. Then wipe away with a clean damp cloth and wash your face with lukewarm water if needed. **Pro-tip: Be conservative with the turmeric because it can stain you! (Speaking from experience of that time I was left looking like Spongebob’s cousin.)
Benefits: Ubtan is an all-rounder when it comes to skincare. Its ingredients are simple and easy to find in all Indian homes. Gram flour is a gentle exfoliator and when used properly, it gets rid of dead skin without the fuss of possible breakouts. Yogurt is a great moisturizer and has some probiotics in it which reintroduce good bacteria to the skin and keep it healthy. Turmeric gives your skin a brighter look and has anti-fungal properties which help your skin stay clear. Bonus point, this can even be made in larger quantities and stored in the refrigerator for up to a couple of weeks!
- Atta for Skin Polishing and Hair Removal
If you’re anything like me and have wondered what magic made your Nani or Dadi have no visible hair on their arms and legs, I have the answer for you! They’ve probably used the revolutionary wheat dough. This home remedy has just three ingredients, whole wheat flour (gehu ka atta), water, and mustard oil (locally known as “sarson ka tel”) (preferably because my Nani said so). These ingredients are easy to find right in your kitchen and when put together, give commercial scrubs and hair removal methods a run for their money!
How to Make This: Add 3 tablespoons of wheat flour, 2 teaspoons of water, and 4-5 drops of oil. Mix them well till they form a shaggy dough-like paste. Apply this to your face or arms. Leave to dry for 10 minutes then rub it off, wash away any remnants and apply a soothing moisturizer/gel on top.
Benefits: It is much gentler than other hair removal methods. It gets rid of peach fuzz very well. The gluten in the flour reacts with the water and the oil and develops in a manner where it sticks to the dead skin cells and hair follicles and removes them effortlessly, leaving some behind, giving a natural look. **Do not use on areas with dense, thicker, and coarser hair because it will tug and hurt a lot!
- Orange Peels Facepack for Glowing Skin
Oranges are certainly mesmerizing beautiful bright fruits that make for the perfect snack and are great for fruit-based drinks. BUT that’s not where they stop being amazing. They are also the perfect cure to sudden bursts of nausea and headaches (trust me, they’ve saved me during especially long lectures). And if even that wasn’t enough, oranges, specifically their peels do wonders for your skin. What a fun, no waste way to treat your skin well! This home remedy may be slightly more time-consuming as it involves drying your orange peels and blending them into powder. You could, of course, use store-bought powder but my Nani certainly prefers the former.
How to Make This: Add 1 tablespoon of orange peel powder, 1 tablespoon water, and a few drops of rose face water (optional) into a small bowl. Mix till it’s well combined. Apply this paste as a face pack and leave it on for 15-20 minutes, then wash your face off with room temperature water.
Benefits: Orange peels are a great source of vitamin C which helps our skin in forming collagen and elastin. They are also rich in antioxidants and provide the skin with an instant, even glow. This face pack is a great way to not let natural ingredients go to waste. The best time to use this is during nighttime as vitamin C can make your skin sensitive to the sun.

- Coffee Honey Mask for Tan Removal and Hyperpigmentation
While coffee is probably my favorite source of caffeine, it was rarely so in my Nani maa’s household. They were all chai people. Coffee, however, had other purposes. The primary one is skincare. Impromptu coffee and honey scrubs were a joyous thing in my Nanihal, especially right before weddings in the family. My Nani would sit down all my Maasis and my mom for a good scrubbing session to be glowing like the moon (as she likes to put it).
How to Make This: Mix equal parts instant coffee powder and honey. Apply this mixture to your face in a circular motion. Leave the mask on for 15-30 minutes, then rinse it off with warm water. This can be done 2 times a week. Additionally, if you’d like to use coffee as a scrub for targeted areas, it would be preferred to have coffee grounds, instead of a powder for better exfoliation. Mix 1 teaspoon coffee grounds with ½ teaspoon honey. Rub this mixture on areas like your nose, forehead, and chin for 2-3 minutes, then wash off with lukewarm water. Do not repeat more than once a week.
Benefits: Coffee as a tan-removing ingredient is used in many commercial body scrubs for double the price, so you’re saving a lot of money! It can help in reducing the appearance of cellulite on the skin. Coffee is also a good source of antioxidants and helps calm the skin. The vitamin B-3 (niacin) present in coffee can prevent the growth of certain types of skin cancers. The caffeine content present in coffee can help with dark circles as it is capable of dilating the blood vessels underneath your eyebags.
- Neem Ice Cubes for Acne
This particular home remedy has a very special place in my heart. Why, must you ask? Well, because it helped me a great deal when I was a teenager. Let’s be honest, high school is difficult. Our bodies are growing and changing (thanks puberty!) and those changes aren’t always good. There was a brief time where I had really bad hormonal and cystic acne. It was painful. It looked bad and messed with my self-esteem. That’s when my Nani made these ice cubes for me and taught me how to use them daily and I’ve never looked back.
How to Make These: Take 10-15 freshly plucked neem leaves, add them to a pot with 250 ml of water and let it boil for 5-10 minutes. Then take off the heat. Once it is cool to touch, remove the leaves and pour the water into an icecube tray and let it freeze. Use after cleansing your face. Do not try this remedy in winters since its temperature is likely to give you a cold.
Benefits: Neem is touted to be a magical herb of which, the list of benefits has no limit. It is tremendously helpful in the treatment of acne because of its antibacterial properties and helps in controlling sebum and regulating oil production. Neem also has anti-inflammatory properties and can pacify irritated skin. Combining it with the cooling effect of ice also helps tighten pores, which keeps the skin firm and lifted.

- Raw Milk for Cleansing
During the summer vacations, when I stayed at my Nani’s house, I was given the responsibility of receiving the milk from our local milkman every morning and my Nani would ask me to save half a bowl of milk before the rest was boiled. I asked her why this was required and she told me that raw milk is great for making your face brighter. What she meant was raw milk is great for cleaning the face of any grime. She especially liked using it on her neck because she didn’t like the appearance of darkness there.
How to Use This: Take 50 ml of fresh unpasteurized milk in a small bowl, Take a few clean, bacteria-free cotton balls/pads, and dip them in the milk. Squeeze out half the quantity and wipe your face and neck with it. Then wash with room-temperature water. This can be used daily to get rid of dark grime on the face and neck.
Benefits: Cow’s raw milk is made up of proteins, lactic acid, and vitamins A, D, E & K which make it a mildly exfoliating as well as a hydrating agent. Cold raw milk also doubles as a great toner for dry skin. It is also an economic cleanser and gentle on the skin. The beauty of this home remedy is in its simplicity. It’s just one ingredient and almost all Indian households have access to it.
- Ghee as Moisturiser for Supple Skin
We’ve already discussed how my Nani loved using ghee to treat her hair. Homemade ghee has that effect, it has so many benefits for one’s overall health and it’s delicious! Another one of ghee’s many uses is moisturizing dry skin. My Nani has never really been fond of any commercial products. To this day, she uses ghee to moisturize her arms and face, especially in winters and it has never failed her!
How to Use This: Warm up the desired amount of ghee on the stove, make sure the ghee is at a pleasant temperature and isn’t hot enough to burn you. Use as required on your arms, legs, back, and face. Don’t use in large quantities as you would a lotion. Only a few drops are enough. Additionally, if you’d like to use it in summers as a light moisturizer, you could also try emulsifying it with water till it’s light and airy and use it on warmer days.
Benefits: Ghee is an excellent moisturizer because it is deeply absorbent. It contains helpful omega 3 fatty acids that can induce hydration in the skin cells. Ghee gives the skin a glowing appearance. It also helps in slowing down the onset of wrinkles.

- Chandan for Spot Treatment
Famously known as sandalwood, Chandan is the bark of the Santalum album tree. It is a savior for big pimples and dark spots. This home remedy that my Nani passed down in our family has saved me during many summers of my life. If you love mangoes just as much as I do, you know that they may be delicious but they also are the cause of fluctuations that cause your internal temperature to rise slightly, resulting in a pimple here and there. This would happen to me at least twice a week (not exaggerating!) and well my Nani, in her true style would whip up this magic paste to give me some relief.
How to Use This: Take a small piece of fresh sandalwood, snap it in half and rub with moderate pressure on a flat surface. You’ll notice that the sandalwood starts to leave some residue. Keep rubbing till you have enough as per your needs (if you don’t have access to fresh sandalwood, its powder form works fine, use half a teaspoon in this case), add 2-3 drops of organic and pure rose face water (color-free and fragrance-free). Mix it till it’s smooth and apply on active pimples or dark spots. Leave for half an hour and wipe away with a damp cloth. Avoid using this remedy if your skin is extremely sensitive.
Benefits: This paste as a spot treatment greatly soothes the skin as it reacts to the inflammation caused by pimples and acne. It is an easy and economical way of reducing dark spots and acne-prone scarring. Applying this paste all over the back prevents pimples and helps with irritation during weather of extreme heat. Rose face water helps in balancing the pH levels of your skin imbalanced due to irritation.
Home Remedies for Hair Concerns
- Aloe vera for Shiny Hair
If you have a well-maintained garden/collection of plants near your home, you probably have access to aloe vera. If you do, this home remedy is a must-try (I’ve seen the results on my Nani), especially because it only has one ingredient.
How to Use This: Take a piece of fresh aloe vera plant, cut it open flat-side up, and take out the gel/pulp in a bowl. Mash this with your hand and apply it to your hair from roots to ends. Tie your hair in a bun and leave it for 30 minutes. Then wash your hair and go about your hair care routine as you would normally.
Benefits: Aloe vera strengthens roots and thereby reduces hair fall. It makes hair extremely soft and shiny by reducing frizz. Aloe vera also restores the pH balance of your scalp.
- Amla Reetha Shikakai Shampoo
By now, you’ve probably understood that my Nani is a fan of all things natural and does not like chemically-processed ingredients in her food, skincare, or hair care. This is why, like most people of her generation, she also has a recipe for her shampoo. And it may not seem like it would be effective, but speaking from experience, the few times I have used this shampoo to give my hair a break, I have always been complimented on how good it looks!

How to Make This: Soak 10 reetha (soapnuts) pods, 7 pieces of shikakai (acacia concinna), and 3 amla (gooseberry) pods in a bowl with 500 ml water overnight. The next morning, heat the concoction and take off the heat right before it reaches boiling point. Let it reach room temperature and then blend it till smooth. Strain the mixture using a metal sieve into a convenient bottle. Discard the residual pulp. Use it as a natural shampoo in quantity as needed. It can be refrigerated for 1-2 weeks.
Benefits: Amla contains high amounts of antioxidants which help repair damaged hair, thus reducing hair loss and balding. Reetha is a great source of iron for hair and acts a cleansing agent in this home remedy. It creates suds that get rid of oil, dirt, and grime that gets accumulated on your roots and scalp. Shikakai prevents premature greying of the hair and also has deep pigments that naturally darken your hair over time.
- Tea Boiled with Vinegar for Conditioning
This blog wouldn’t be complete without at least one tea-based home remedy, would it? Indians across all generations love tea, so much so that they have found uses more than just its delicious drinkability! From using it in painting local art pieces, to making DIY lip-tints, tea is an ingredient that has many versatile uses. One of them being, they make for a great conditioner. When paired with vinegar, tea makes your hair super soft. This is what my Nani has been using forever after cleansing her hair with the natural shampoo.
How to Make This: To 250 ml of water, add 2 teaspoons of your preferred organic tea blend. Make sure it does not have any other spices., to this, 50 ml of white vinegar (you can ACV as well). Boil this mixture for 5-10 minutes and strain once it’s off the heat. Let it cool completely before using it as a conditioning rinse. Wait for 5 minutes and then rinse it all out with water.
Benefits: Tea supports hair growth. It can enhance one’s natural hair color. Vinegar seals the cuticles of our strands and creates a protective layer that locks in lipids that keep our hair soft and shiny. It is organic and does not hurt our hair, provided it is not left on hair longer than suggested.
- Tea and Henna Hair Dye for A Natural Burgundy Hair Colour
Yet another home remedy that has tea in it? It’s enough to make caffeine addicts cry! Dyeing your hair vibrant colors may be all the rage right now but it has its roots (pun intended) in recent history. I’ve grown up watching my Nani dyeing her hair using a blend of henna and tea. When her hair hadn’t lost its pigment, this natural dye would give her the most gorgeous burgundy hair and now that a significant portion of her hair is grey/white, the dye performs beautifully and leaves a vibrant ginger color that lasts anywhere between 6-10 washes.
How to Make This: Mix organic henna powder (quantity depending on the length of your hair), with boiled and strained tea in water. Apply it the same way you would use any other blend of henna. If you want slight variation, you may switch the water with red wine.
Benefits: This natural dye is non-toxic and unlikely to hurt your hair in the longer run. It naturally strengthens your hair makes it more elastic. There are a lot of antioxidants present in henna and tea which help to neutralize the harmful effects of other chemical products in your hair.
- Ginger Juice and Tulsi Hairpack for Dandruff
Oh, the miraculous ginger! I’ve always had a love-hate relationship with this ingredient. My Nani would grate heaps of ginger, mix it with honey and force me to consume it by the kilo to help with my perpetual sore throat. It may have tasted terrible but is a better hack than any cough syrup to this day. Ginger works great in combatting my winter nemesis “the dreaded dandruff”! Pair it with the holy ingredient of Tulsi (which we’ve established is no less than magic itself), and you have the best home remedy for dandruff!
How to Make This: Grate 5-6 ginger pieces in a small bowl and soak them in 100 ml water for 4-5 hours. Once the ginger acids have been released into the water (you can decipher this by the smell) strain the water out using a cotton cloth. Take 15-20 medium-sized tulsi leaves and blend them into a smooth paste with ginger water. Apply this paste to your scalp and massage it thoroughly. Leave it on for 30 minutes and wash your hair off with shampoo and conditioner as you normally would. Some irritation is normal due to Ginger’s potency.
Benefits: Ginger is rich in antimicrobial and antiseptic properties and is one of the strongest natural ingredients in combatting stubborn dandruff. Tulsi, on the other hand, is antibacterial and antifungal which suggests that it greatly supports the scalp in staying clean and prevents the onset of dandruff in dander-prone weather conditions.
- Onion, and Fenugreek Oil for Hair Growth
Like anyone passionate about their hair, my Nani too has a range of homemade products that differ and are categorized as “summer products” and “winter products”. While she prefers nourishing her hair with ghee in the winters, this natural oil made with onions and methi seeds is her go-to champi product in the summers.
How to Make This: Take 250 ml of good quality pure almond oil in a large pot. Add 100 g of overnight-soaked fenugreek seeds and 2 small diced onions. You may also add 10-15 curry leaves. Now bring this oil to a slow boil. Once boiled, you’ll notice a change in color and fragrance. Take the oil off the heat and let it cool completely. Once cool, strain the oil using a clean metal sieve and pour it into a sterilized glass jar or bottle. Store it in a cool, dry, and dark place for up to 3 weeks and use as you would any other hair oil. If you’re not fond of almond oil, you may use coconut oil instead, the only drawback being, small amounts of oil to be used would have to be heated up in winters as coconut oil is made of saturated fats and tends to solidify in colder temperatures.

Benefits: The natural juices present in onions provide extra sulfur to hair and aid in promoting hair thickness and growth. Catalase, an antioxidant present in onions helps slow down the onset of grey hairs. Fenugreek additionally prevents hair loss and controls scalp inflammation.
- Dahi and Banana Hair Mask for Soft Hair and Healthy Scalp
Okay, we get it, dahi is great. We’ve seen it in multiple remedies in this blog and it only makes sense. Pairing it with banana (which isn’t only good for being a tasty fruit) and treating yourself to a great natural hair spa session twice a month is the key to dealing with stress while also having super soft hair and a healthy scalp.
How to Make This: For medium to long hair length, take one large banana and mash it up in a bowl. Add 100 ml yogurt to it and mix till they’re well combined. Apply this mask to your hair and cover it with a shower cap for 40 minutes to an hour. Slight itching is normal for this hair mask. Wash your hair with a good sudsy shampoo and skip the conditioner
Benefits: The vitamin and mineral composition of bananas make them great conditioners for dull and dry hair. They help reintroduce moisture to hair and also make them thicker. Yogurt helps soothe the scalp and balances the hair’s pH.
Final Takeaway from Nani Knowledge
While commercial skincare is certainly convenient, it is important to preserve the ancient knowledge our grandmothers have given us. These face packs and hair masks are not only easy and quick to prepare, but they’re also super effective. The best part is that there is always something for everyone, they’re pocket-friendly and have negligible side effects.
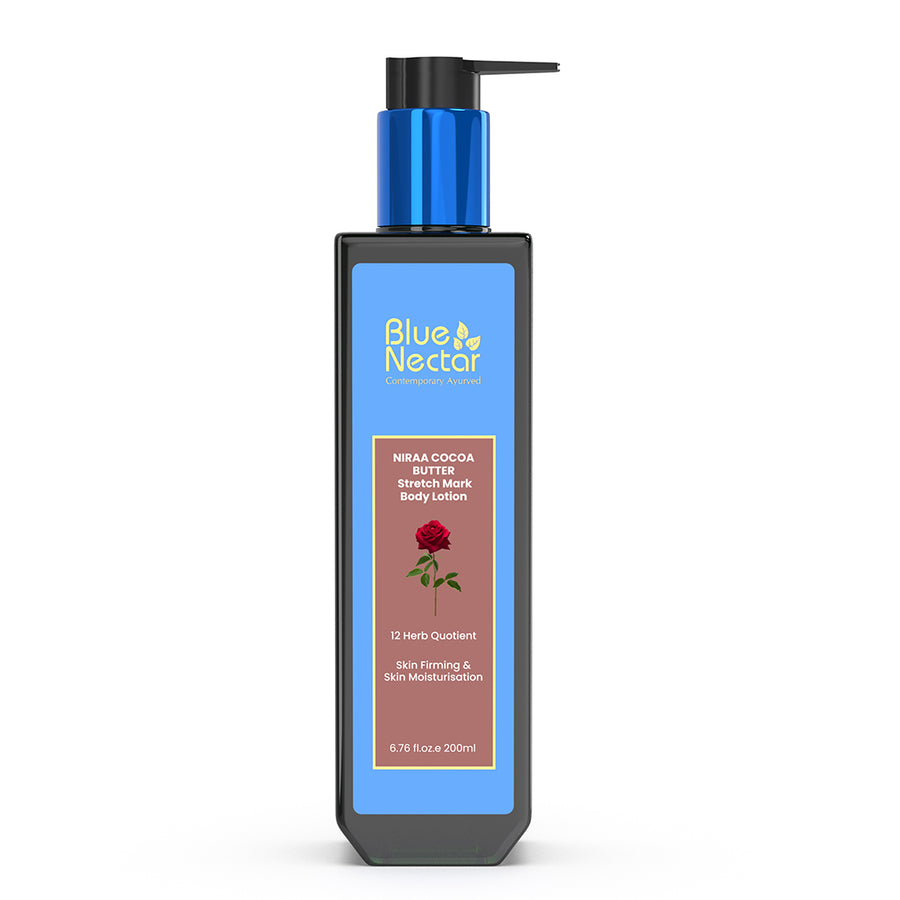
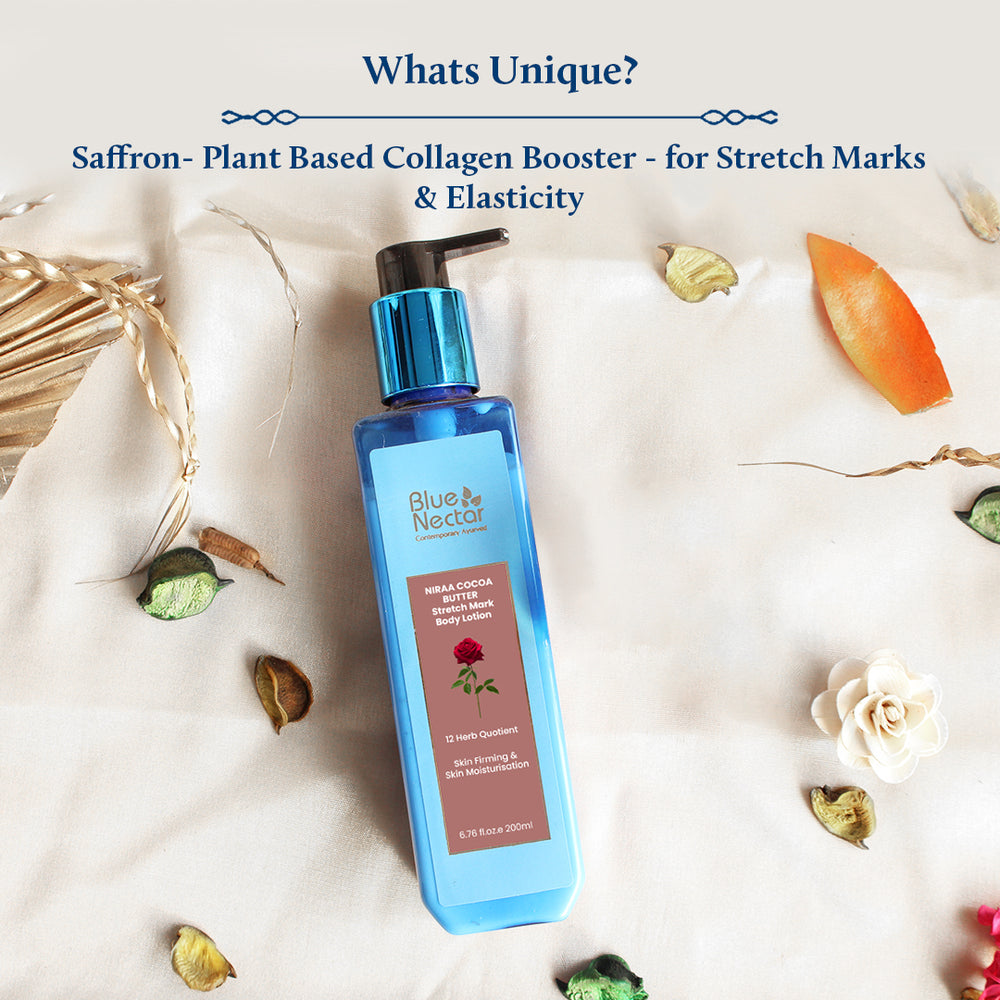
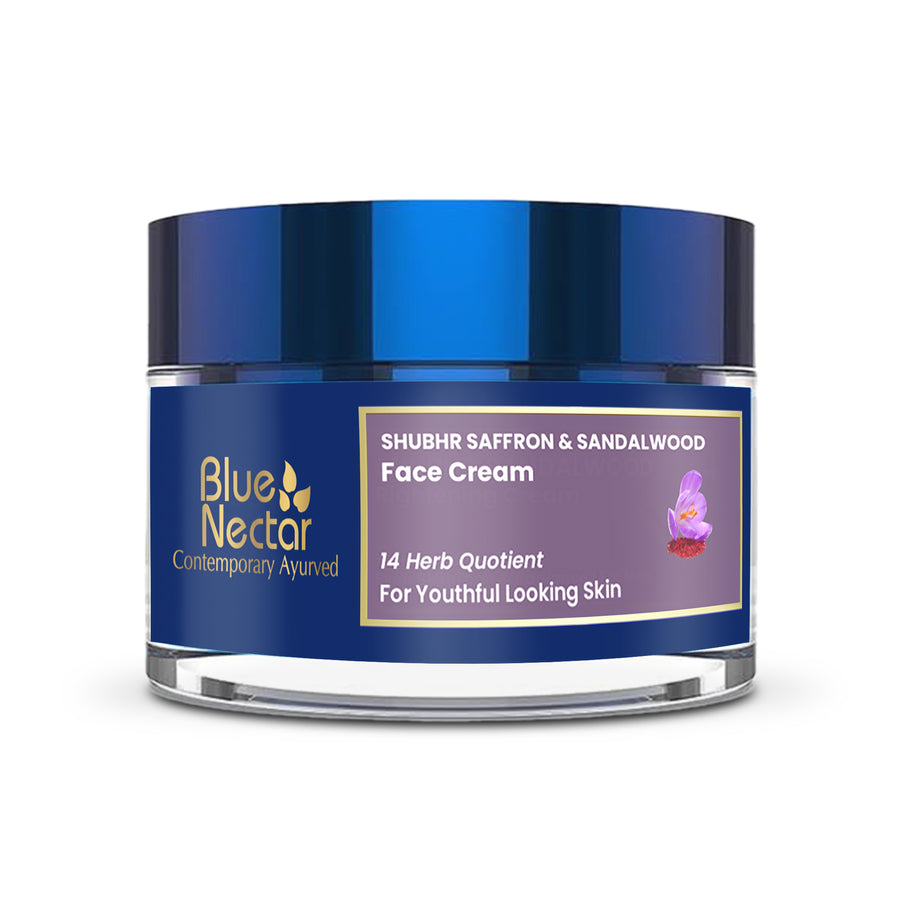
Recommended Products by Blue Nectar:
Kumkumadi Face Serum and Kumkumadi Face Oil for Anti aging and Skin Brightening
Shubhr Rose Face Tonic Mist | Skin Toning & pH Balance
Related Articles:
Home Remedies for Dark Spots and Skin Pigmentation
Home remedies to get rid of dark knuckles
Ubtan - Indian Home Remedy for a Glowing, Radiant Skin
Guide to treat stretch marks with best home remedies
References:
Leave a comment